Use Text-to-Speech and Voice Recognition on Windows 11
TTS and voice recognition can be very useful for productivity
![]() 6 min. read
6 min. read
![]() Updated on
Updated on
Share this article

Improve this guide
Read our disclosure page to find out how can you help Windows Report sustain the editorial team Read more
Key notes
- Text-to-speech and voice recognition are two great tools on Windows 11 computers that allow you to improve your productivity.
- Setting both up is easy to do and only takes a few minutes.
- This guide will go through how to set up text-to-speech and voice recognition.
Like Windows 10, Windows 11 computers have text-to-speech capability. Also known as TTS, text-to-speech allows you to hear written text narrated by the computer.
On the other hand, voice recognition software will enable you to perform specific commands on your device using your voice.
How can TTS and voice recognition software help me?
As you speak into a microphone, the computer writes out the text on screen with a combination of text recognition and speech synthesis.
It’s a great tool if you have difficulty reading or writing, as you can perform a stream of consciousness as you talk. You can overcome writer’s block with this handy tool.
TTS can also help you if you want to check the pronunciation of certain words or hear text aloud via Microsoft Narrator. Plus, the software is good at adding proper punctuation, so you can also learn good grammar.
Text-to-speech is also extremely important for users with any visual impairment problem.
What about Voice Typing Tool?
The Voice Typing Tool is an app on Windows 11 that takes advantage of the text-to-speech functionality. The app can be used on any text box, like editors, word processors, chat programs, emails, and wherever you can write on a computer.
It has an auto punctuation feature to accurately and correctly dot your text with the appropriate periods and commands. Voice Typing Tools also supports languages besides English, including Spanish, Simplified Chinese, and German.
This guide will tackle the other aspects of text-to-speech on Windows 11 besides the Voice Typing Tool. It will show you how to turn on text-to-speech, configure it, and go through some features most people may not know.
How can I use text-to-speech on Windows 11?
1. Turn the Narrator option on
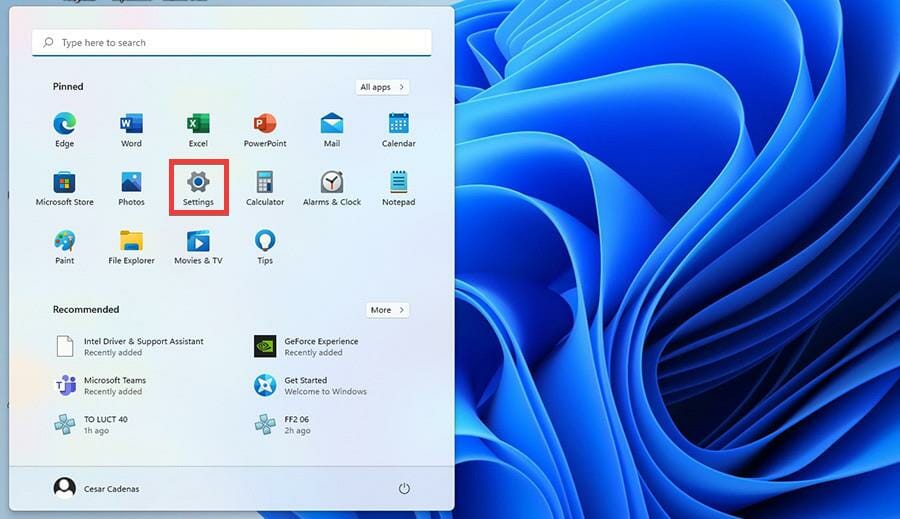
- Click on the Start menu and click on the Settings icon.

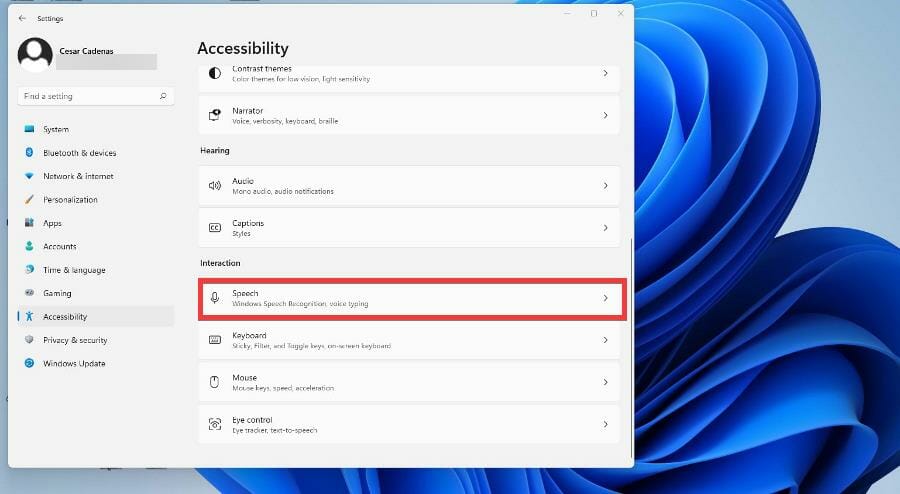
- Click on Accessibility and select Speech.

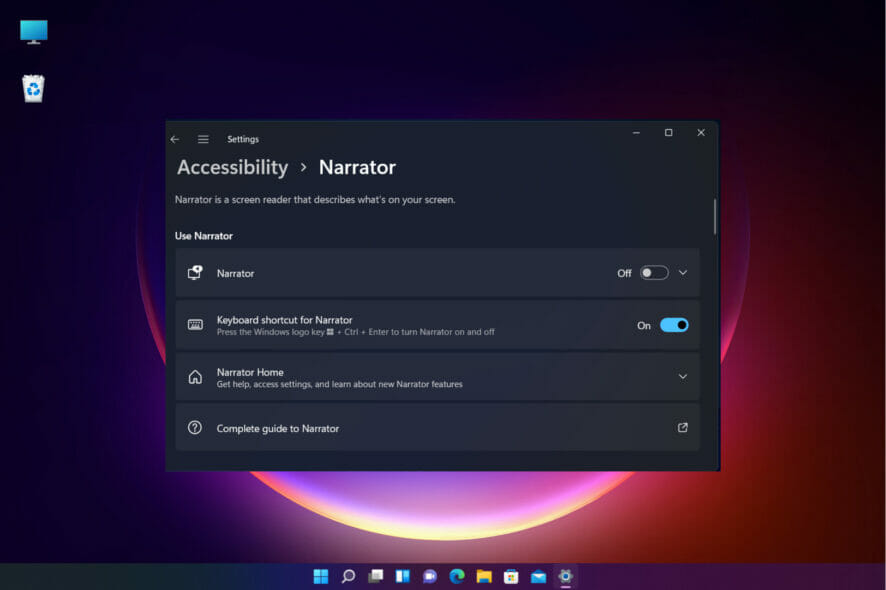
- Click on the Narrator option.

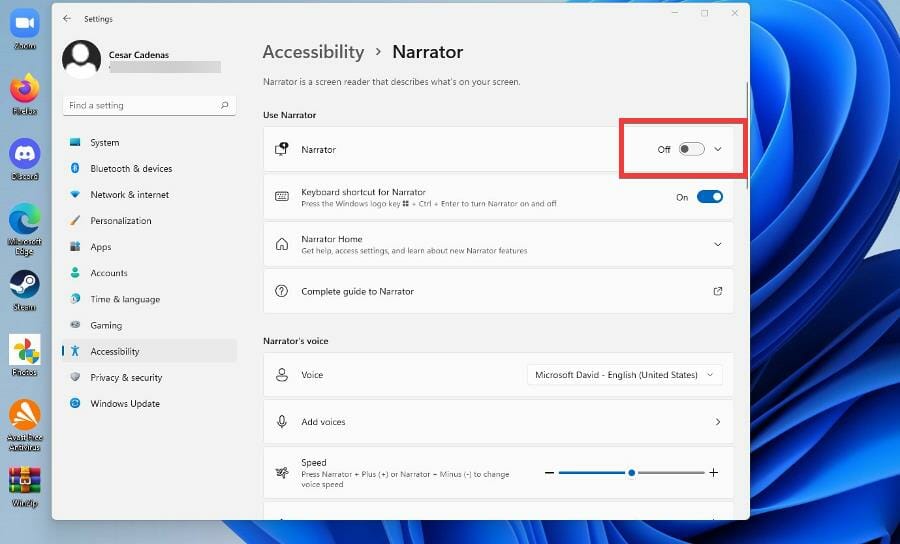
- Toggle the Narrator switch to turn it on. Once you do, the Narrator app menu will open.

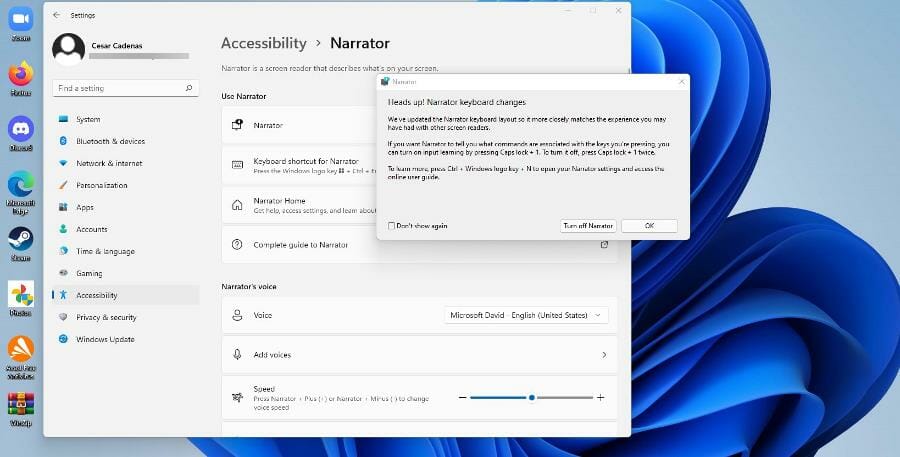
- The Narrator app is now on. To configure it, click OK.

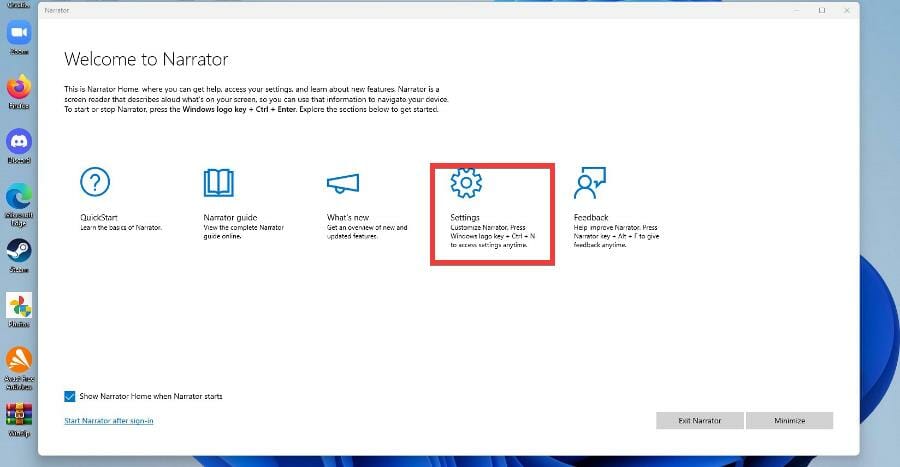
- The Narrator settings menu is open. Click on Settings.

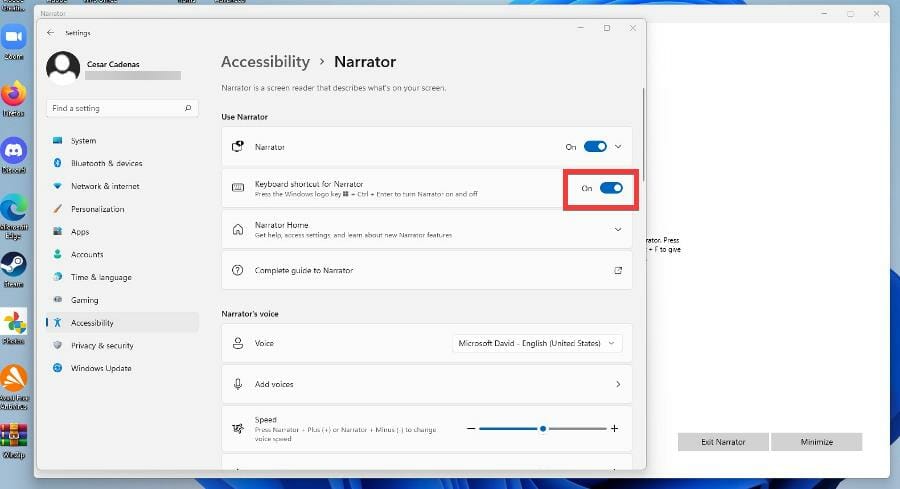
- In the next window, ensure that the keyboard shortcut is turned On.

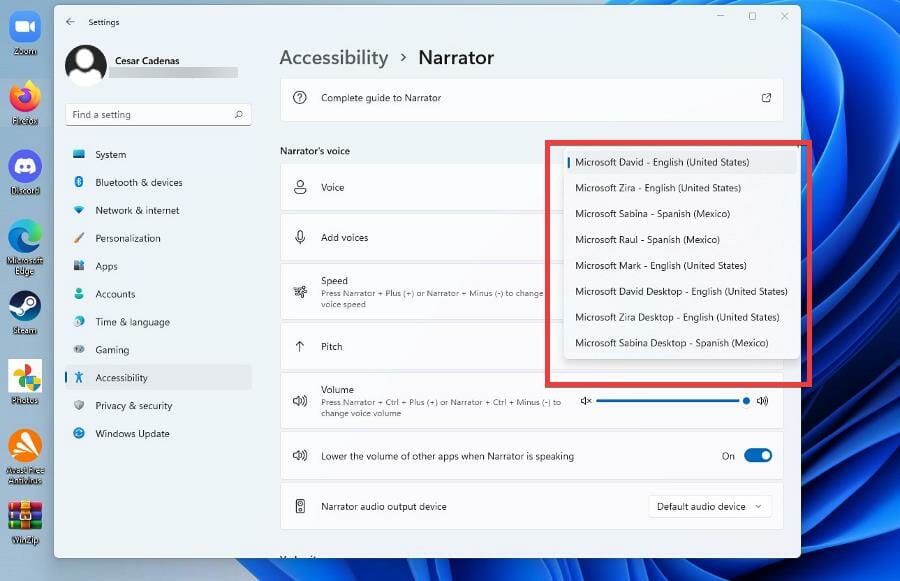
- To change the Narrator’s voice, click on the drop-down menu next to Voice and select an option.

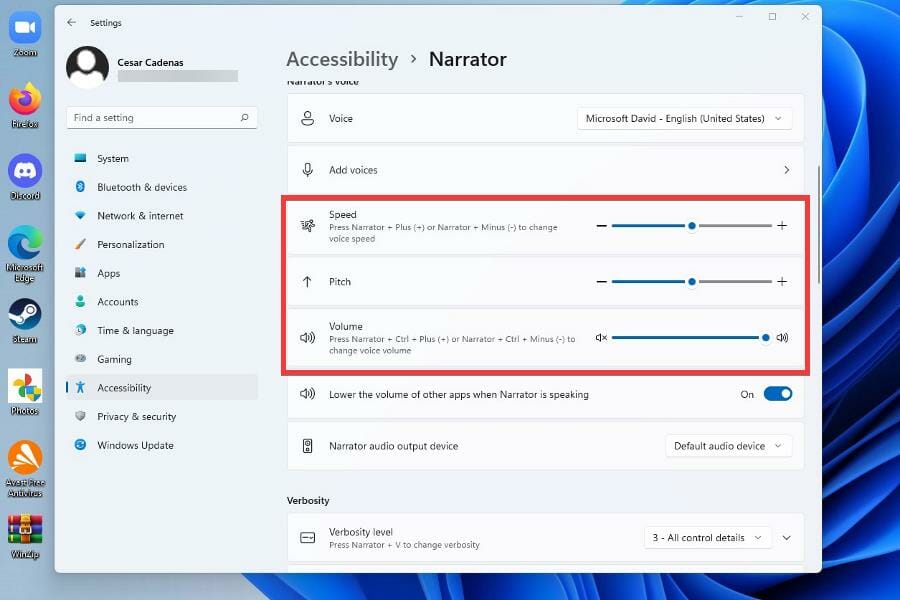
- You can change the Narrator’s voice’s Speed, Pitch, and Volume by changing the levels next to their respective configuration.


2. Turn the text-to-speech option on
- Click on the Start menu and click on the Settings icon.
- Click on Accessibility, scroll down and click on Speech.
- You can toggle Windows Speech Recognition in this new window by flipping the switch from Off to On.

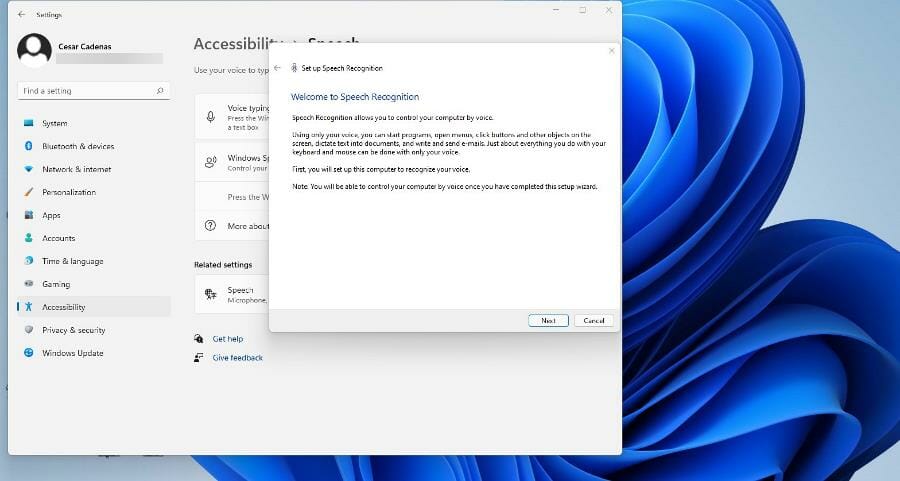
- Upon flipping the switch, the Set up Speech Recognition wizard will appear, where you can set up from your preferences and connect a microphone.

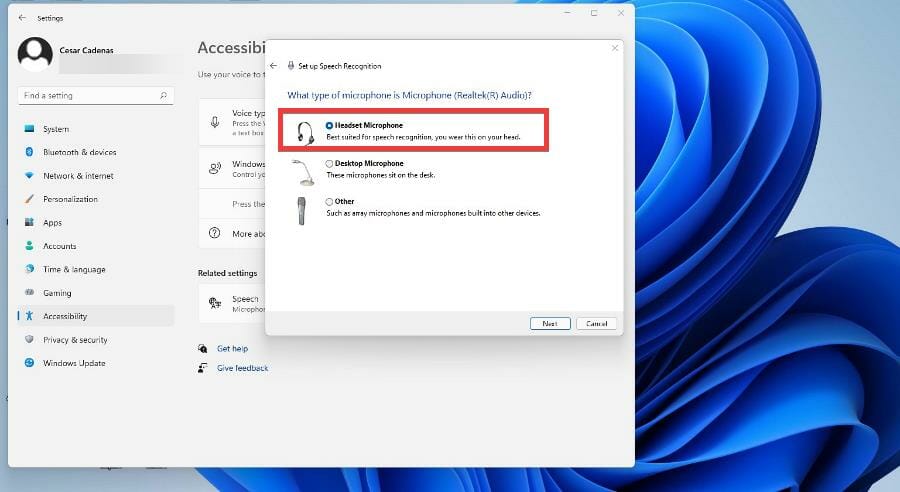
- After clicking Next, the wizard will ask you what kind of microphone you will use. Headset Microphone will be chosen for this guide, but the instructions are the same.

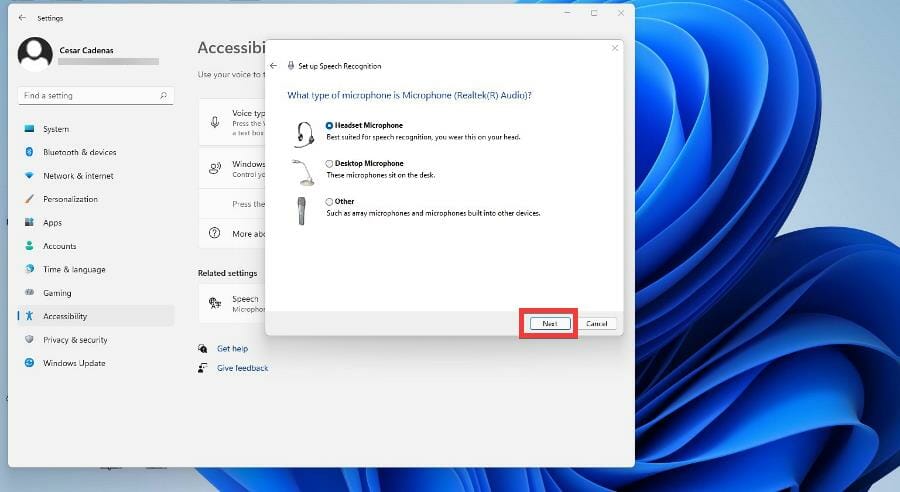
- After choosing your device, select Next.
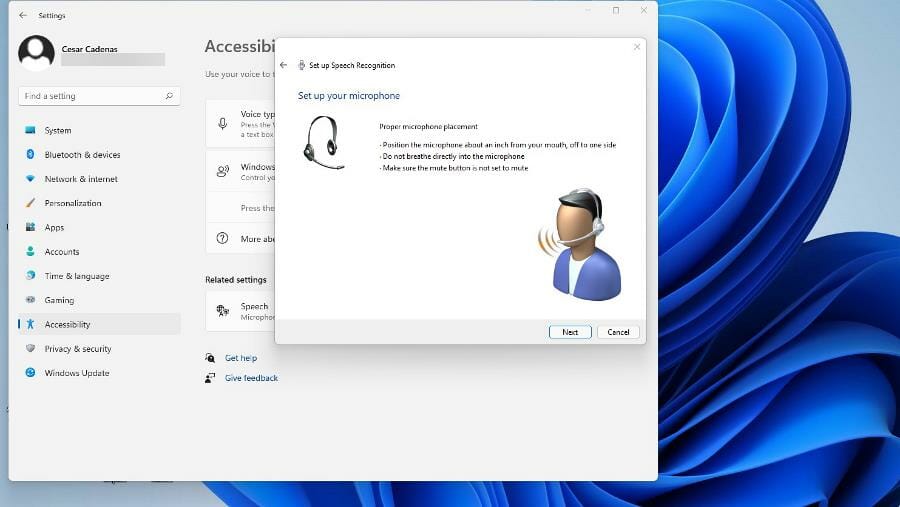
- At this point, the wizard will set up your microphone by asking you to keep the mic at a set distance so it can configure the software. When you’re ready, click Next.

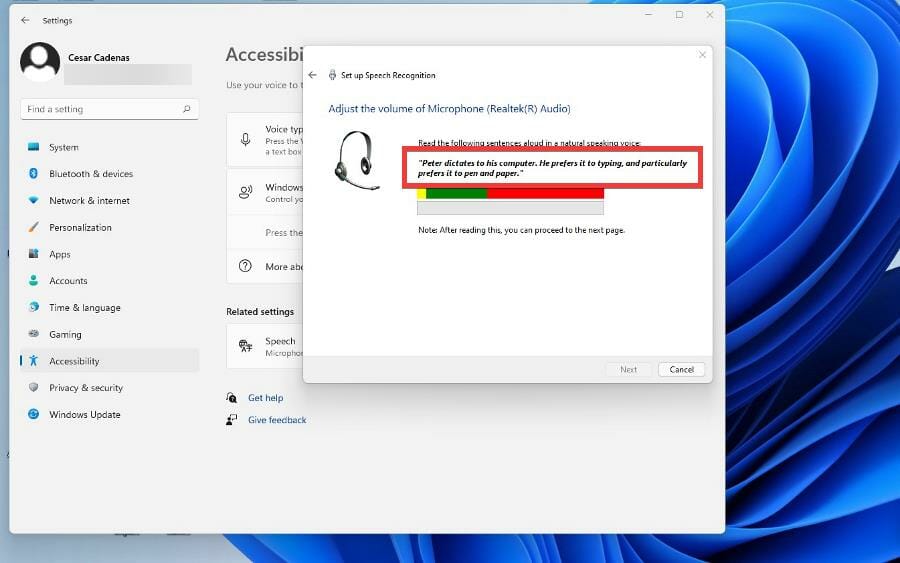
- Read the sentence that appears so the software can get a sample, then click Next.

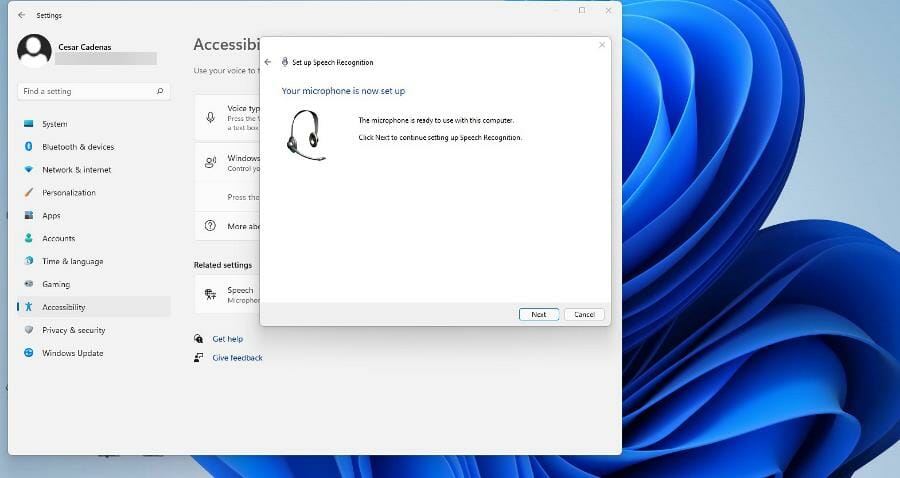
- Now you’ve set up the microphone. Click Next to continue.

- Click Enable document review to allow your Windows 11 computer to read the document before transcribing it to speech. Then click Next.

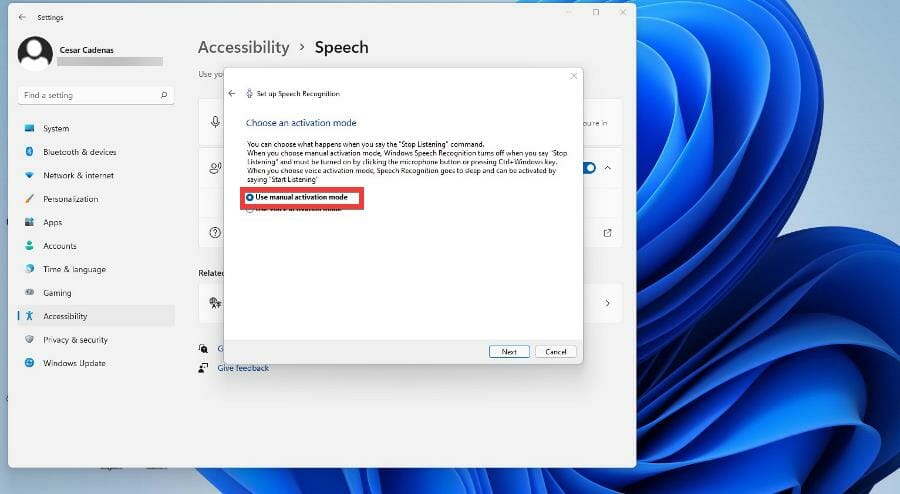
- Here you can select an activation mode. If you choose Manual, the text-to-speech capability won’t activate until you open the app. If you choose Voice activation mode, the computer will listen for a command to turn on the feature.
- This guide will select Use manual activation mode, then click Next.
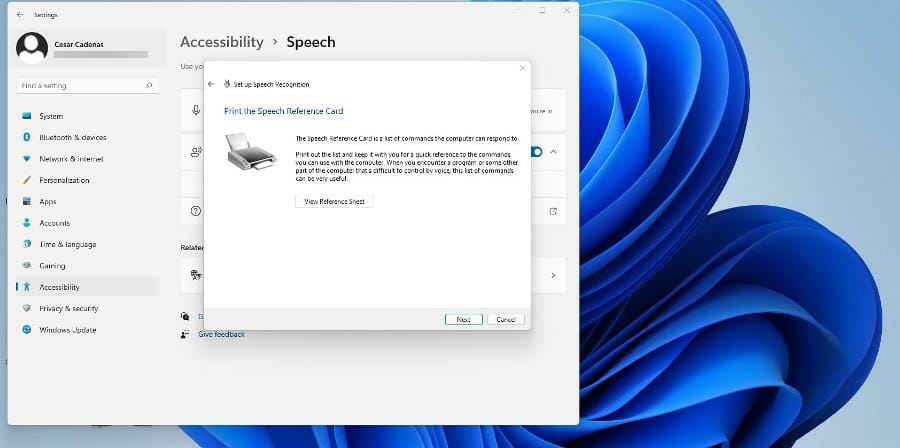
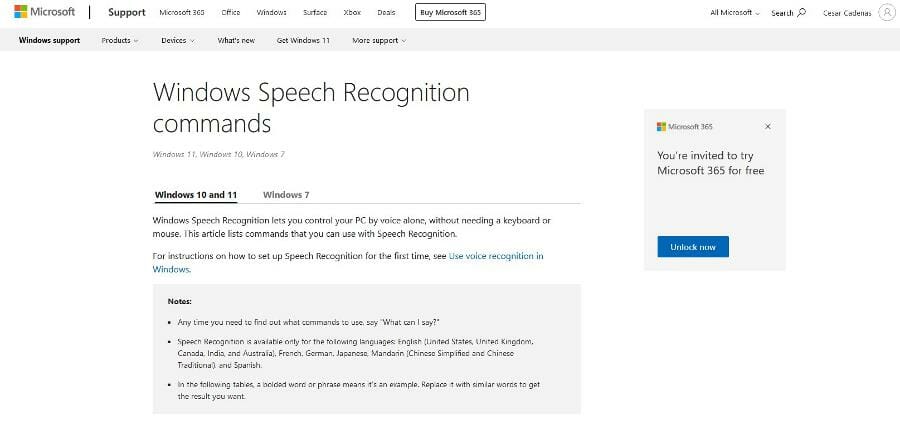
- In the next window, you can print out a reference sheet filled with all of the commands that Windows 11 text-to-speech recognizes.

- If you don’t have a printer set up, click View Reference Sheet to be taken to a page on Microsoft’s website listing all the commands.

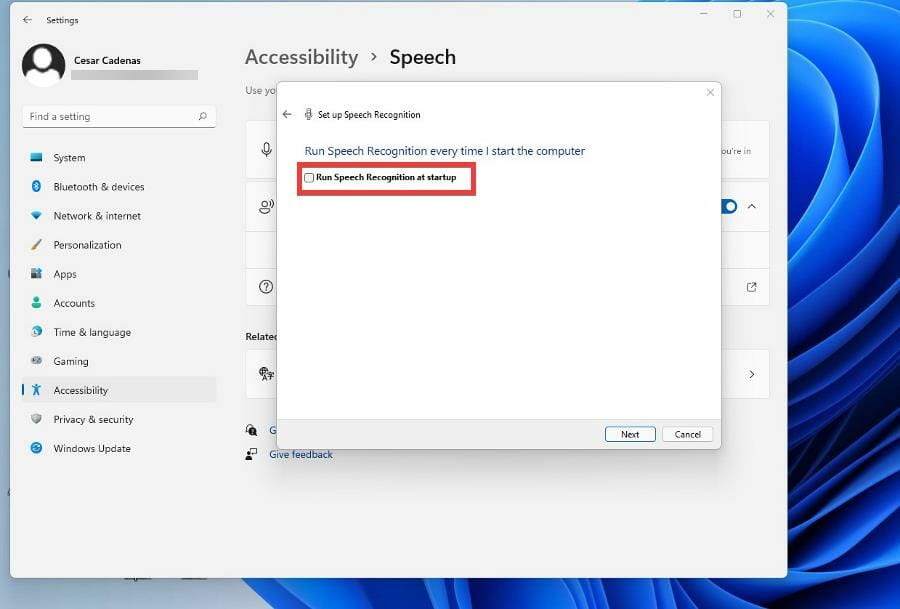
- After clicking Next, you can opt in or out of running Speech Recognition every time the computer is turned on.

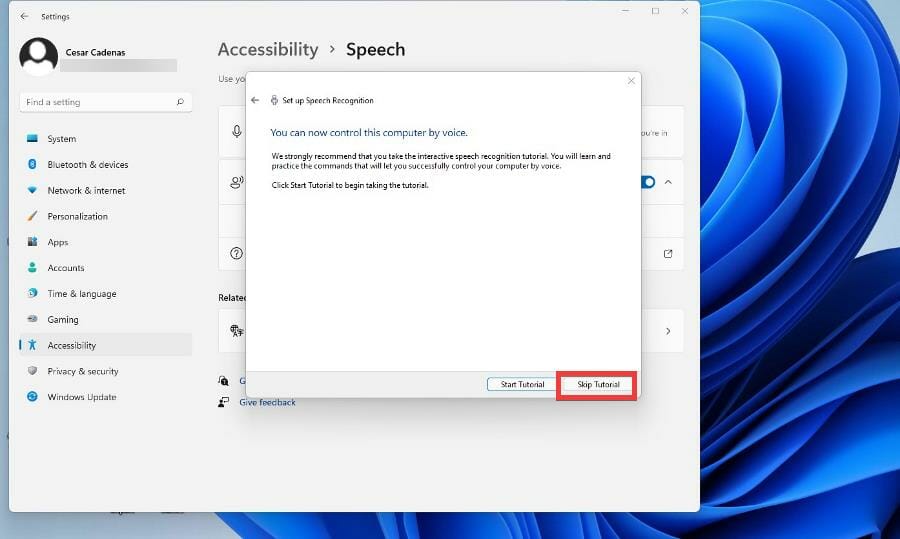
- Windows 11 allows you to learn how to use text-to-speech with a tutorial if you want to learn more. Otherwise, skip it.

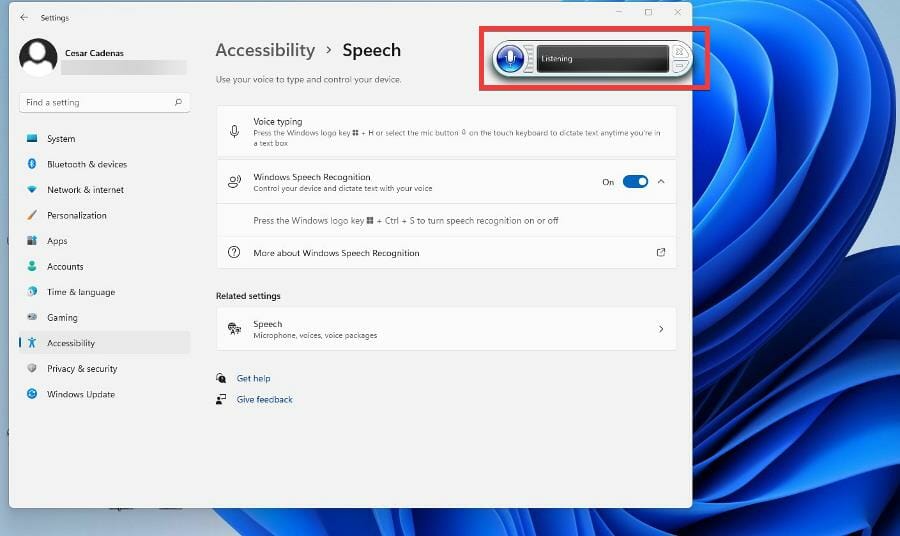
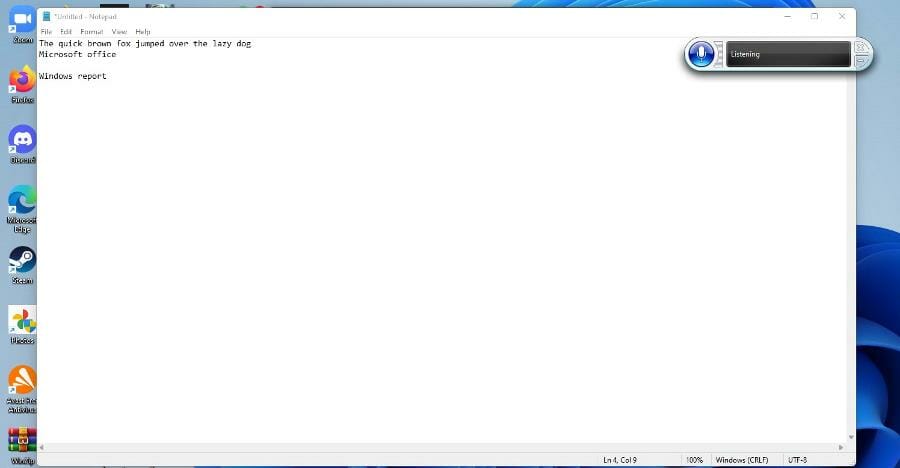
- A new window will appear on the top of your screen, which is the text-to-speech app listening to your commands. Press the Mic button to turn it on and off.

- You can try out text-to-speech by opening Windows Notepad and start speaking to start writing.


3. Configure text-to-speech
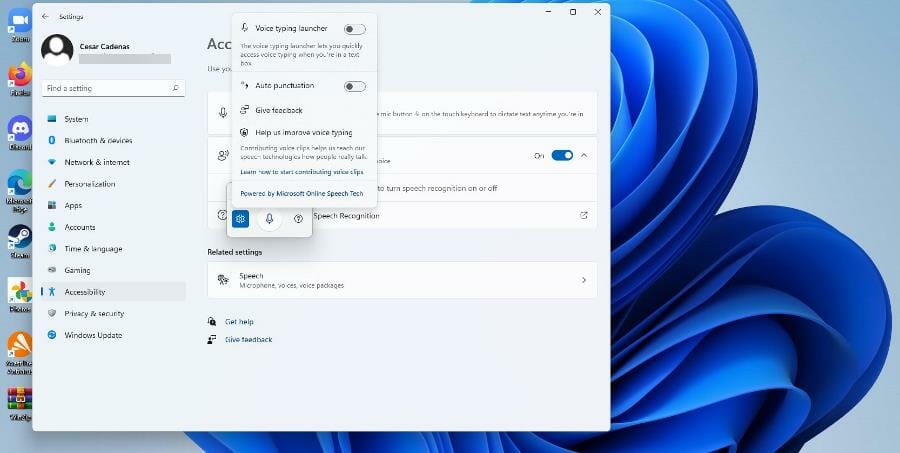
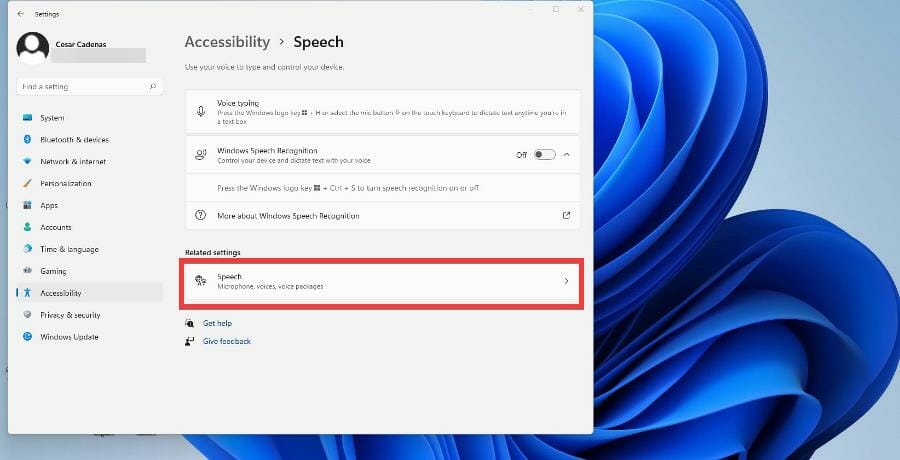
- Return to the Accessibility panel on the Windows 11 Settings menu and select Speech.
- Click Speech under Related settings.
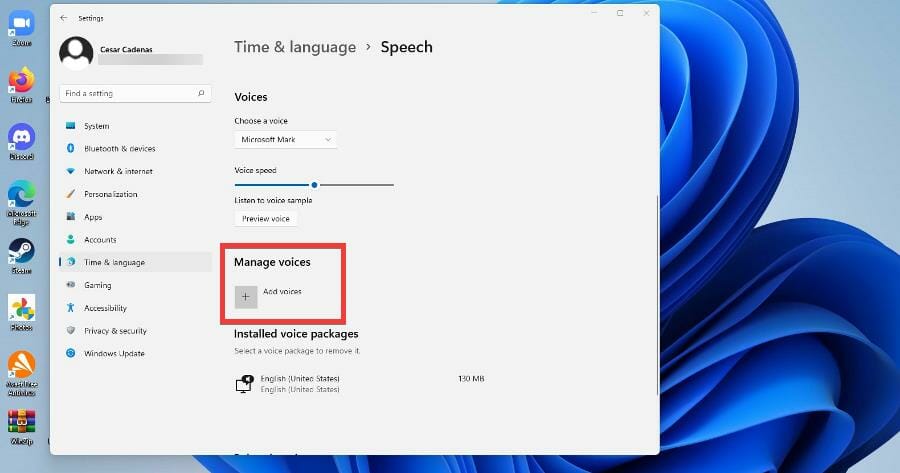
- To add more languages, scroll down to Manage voices and select Add voices.

- Select a language you want to add or search for one.

- Click the box next to the language and select Add at the bottom.

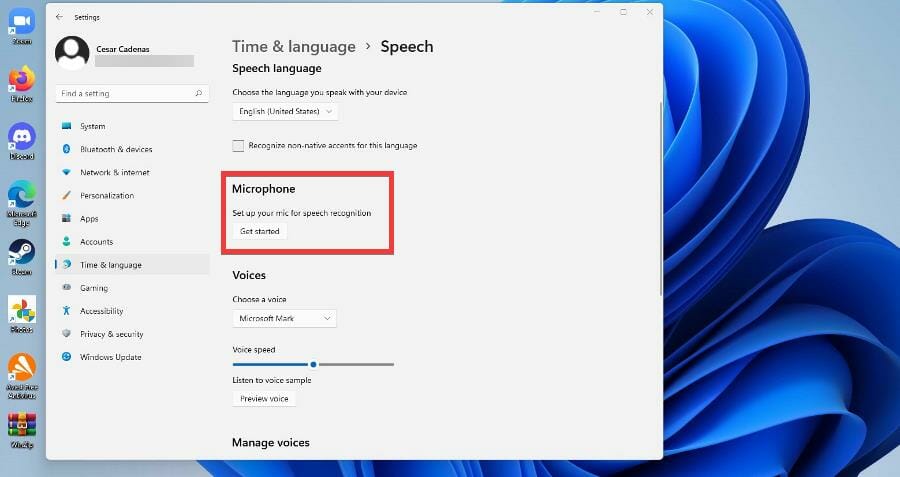
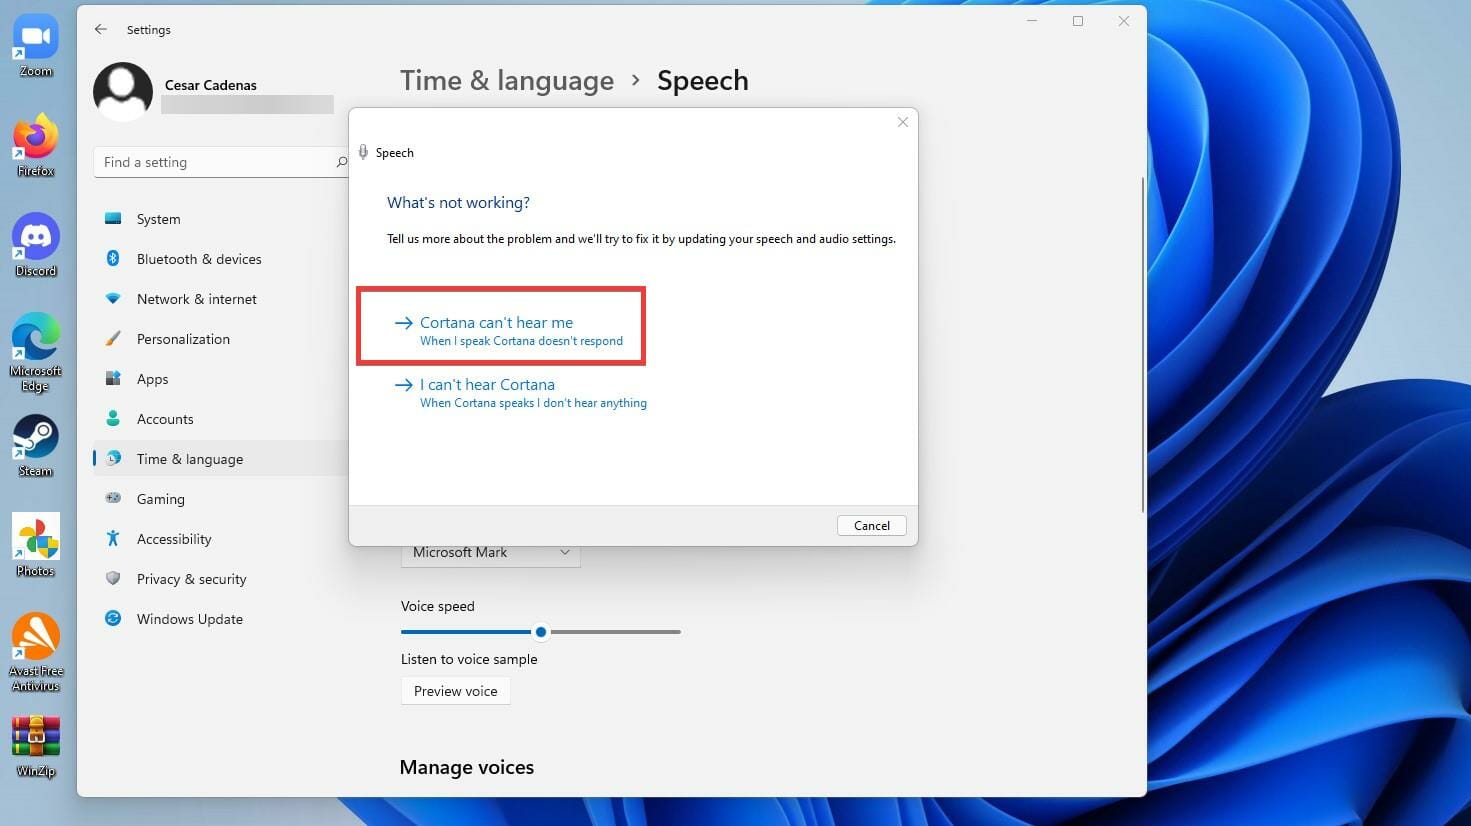
- To add a new microphone, click Get started under Microphone.

- In the new window, select Cortana can’t hear me.

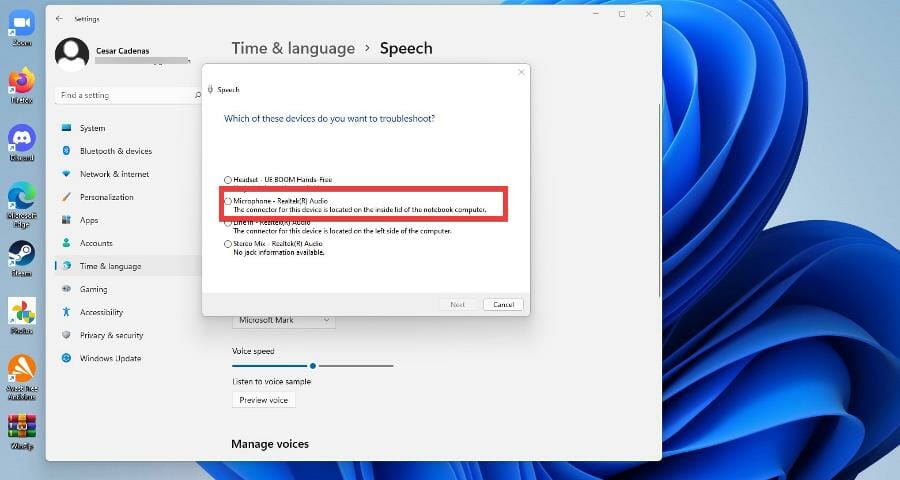
- Select the device you want to add and click Next.

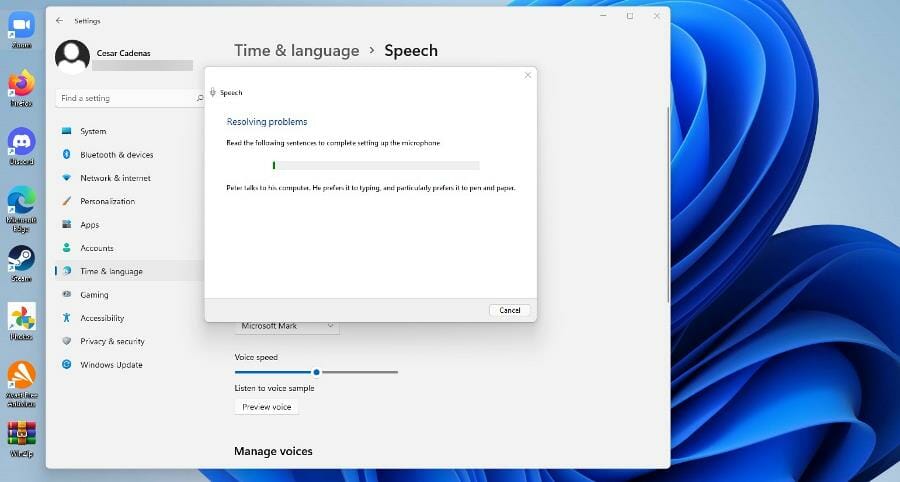
- Select Set up the mic.

- You will be asked to recite the same sentence as before to calibrate the new device.


Windows 11 has a lot of good native apps, but third-party apps blow what’s on the operating system out of the water. And that’s the case for text-to-speech apps.
Many are on Windows 11, which also appears on Windows 10. Many of them are carry-overs from the older system to the new one. They help immensely with expanding your vocabulary.
Some are apps like Dragon, which is widely known for its high quality, but some online readers are just as good as the apps.
Some of these online readers include the likes of Ivona and NaturalReader, which can convert PDFs and Docx files for free. There are even paid versions that give extra features like Word Prediction.
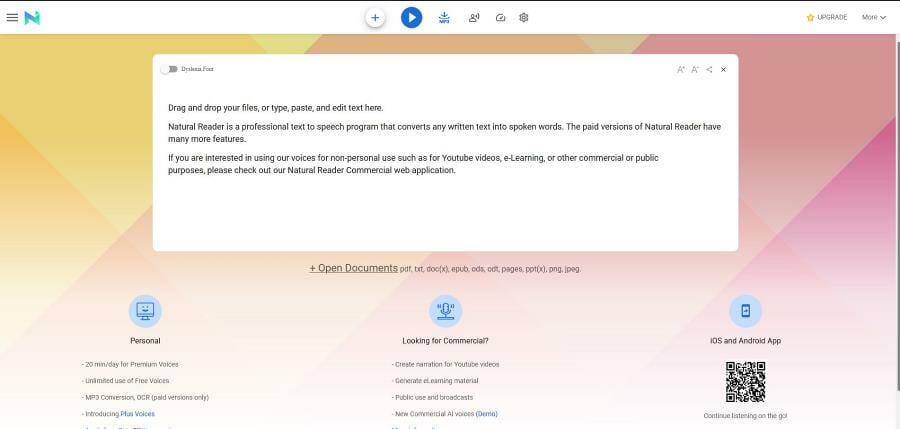
And if you’re someone or know someone who struggles with dyslexia, NaturalReader is a great tool for helping people overcome that condition.
There are several different apps and services on Windows computers that you should try out if you have dyslexia. KAZ-Type, for example, teaches typing while managing visual stressors and has minimal disruptions.
Feel free to comment below if you have questions about other Windows 11 apps. Also, leave comments about guides you’d like to see or information on other Windows 11 features or guides like this.